In photography, several factors influence the quality of an image. One such factor is shooting in low light. The challenge isn’t necessarily that it’s an inappropriate time to take photos, but rather the lack of knowledge on how to capture images in challenging lighting conditions.
Thus, mastering lighting should be a primary skill for beginner photographers. We may not be able to alter natural brightness, but we can make swift adjustments to the camera to optimize results in low-light photography situations.
In this article, you’ll discover straightforward tips for enhancing your low-light images. Let’s delve into how to shoot in low light without using a flash!
What is Low Light in Photography?
While most cameras perform well in bright conditions, the true distinction in camera and lens quality, as well as fundamental skills, becomes evident when there’s limited light.
It can be incredibly frustrating when your photos turn out too dark, overly noisy, misfocused, or of poor overall quality.
However, the absence of a flash, specific lenses, or beginner photography skills shouldn’t be an excuse for not shooting in low light. With a few simple steps, anyone can significantly improve their low-light photography skills.
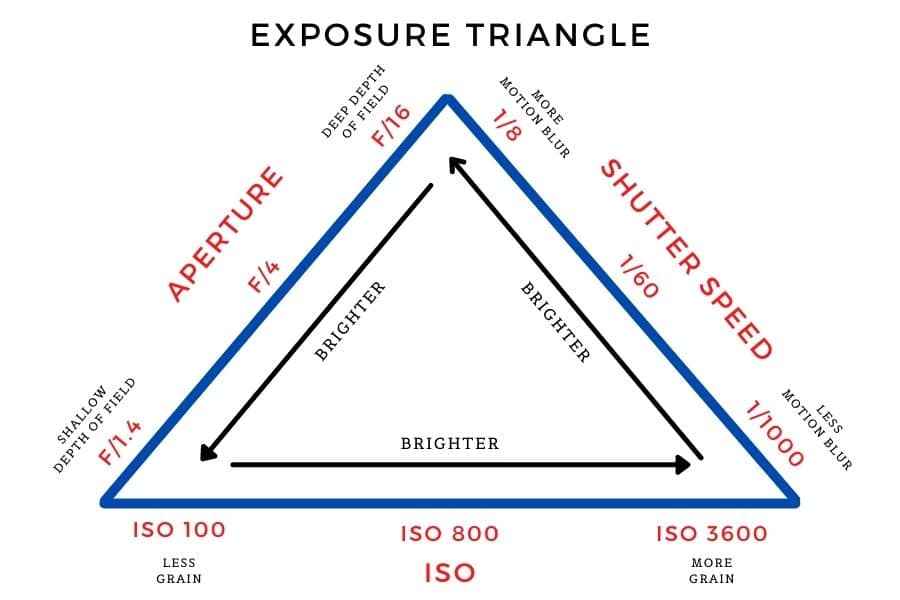
To get the best results from low-light photography, focus on adjusting the three main pillars of exposure:
- Adjust ISO
- Use a Slower Shutter Speed
- Opt for a Larger Aperture.
Diving into Low-Light Photography Tips
1. Adjusting the ISO Settings
ISO determines the sensitivity of the camera sensor to light. For instance, ISO is represented by numerical values, ranging from ISO 100 to higher values like ISO 3200. A lower ISO value means the camera is less sensitive to light, resulting in darker photos in low-light conditions. Conversely, increasing the ISO will brighten the image.
Drawbacks of High ISO
A significant drawback of a high ISO setting is its potential to reduce image sharpness. As the ISO value increases, the image becomes noisier, appearing grainy. It requires practice to strike a balance between image sharpness and brightness. Remember, as you increase the ISO, the image quality tends to degrade due to noise. It’s advisable not to exceed ISO 1000.
ISO Tip: You can always enhance exposure using post-processing software. Maintain an ISO setting below 1000 for optimal quality, even if the image appears dark. Adjusting brightness in editing software is quite easy.
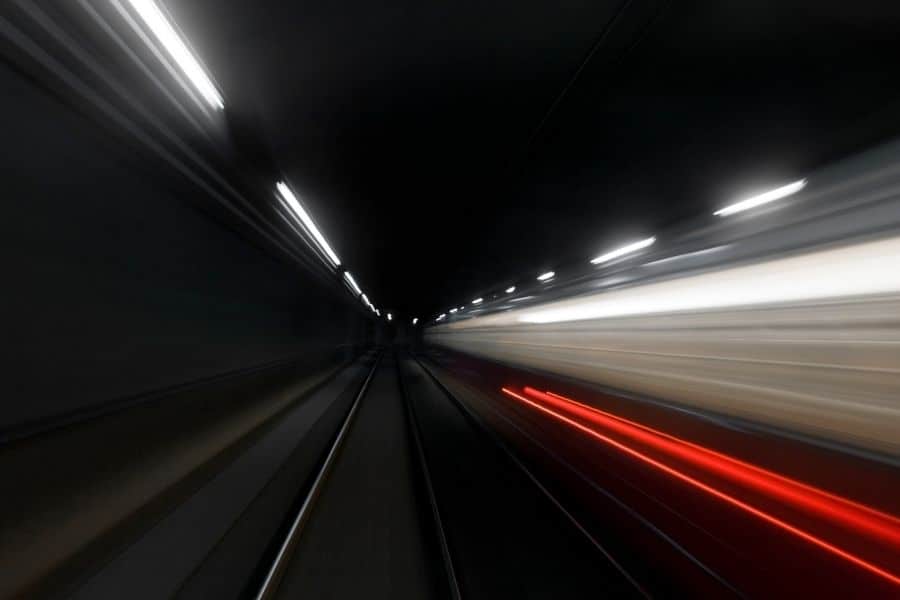
2. Using a Slower Shutter Speed
Shutter speed is another crucial factor influencing image brightness. A slow shutter speed means the camera’s shutter remains open longer, allowing more light to hit the sensor, while a faster shutter speed lets in less light. Shutter speeds can range from mere milliseconds to roughly half a minute. In low-light conditions, it’s beneficial to use as slow a shutter speed as possible.
Drawbacks of Slower Shutter Speed
Employing a slow shutter speed in low-light scenarios necessitates keeping the camera steady for several seconds to prevent motion blur. If the camera moves or shakes during the shot, the result will be a blurred image.
Similarly, even if the camera is stable (for instance, when using a tripod), any movement by the subject during the exposure will introduce motion blur.
TIPS for Slower Shutter Speed: To prevent camera shake, consider using a tripod or get creative by finding a stable support point, such as a wall, rock, or any other steady object. Additionally, employ a short timer to eliminate the shake caused by pressing the shutter release. For further reduction of image blur, opt for lenses equipped with built-in image stabilization.
3. Wider Aperture
This is the final pillar of exposure. The wider the aperture, the more light enters the camera. Aperture is denoted by f-stop numbers, ranging from f/1.4 to f/22. A lower number indicates a wider aperture, allowing more light into the camera. Conversely, higher numbers like f/22 signify a narrower aperture, limiting the light that enters. Ultimately, a wider aperture results in brighter images.
The downside of Wider Aperture
In low-light photography, we aim to maximize brightness. However, adjusting the aperture also affects the depth of the field. A wide aperture, such as f/1.4, narrows the depth of field, resulting in a sharp focus on the intended subject while rendering objects at varying distances blurry. This effect is suitable for low-light portrait photography but can be problematic for landscapes where clarity across the frame is desired.
Aperture TIPS: For portrait shots, use as wide an aperture as possible. Set the focus on the subject to maximize incoming light. For landscape photography, an average aperture between f/8 and f/14 is often preferred.
4. Shoot in RAW
A RAW image file retains approximately three times more data than a standard JPEG file. With this additional information in low-light photos, there’s greater flexibility for enhancement in post-processing software. This allows for more precise adjustments to exposure and other attributes than what’s possible with JPEG.
Disadvantages of Shooting in RAW
Given that a RAW image file holds about three times more data, the file size is correspondingly larger. Transitioning from JPEG to RAW will noticeably reduce the available storage space on your SD card. It’s a minor trade-off to consider.
TIP for Low-Light Shooting: Not all issues can be rectified equally in post-processing. Overexposed images are challenging to correct, even with the extensive data in a RAW file. It’s generally better to err on the side of underexposure than overexposure.
5. Benefits of Faster Lenses
Often, low-light challenges can be mitigated with faster lenses. These lenses have wider apertures, allowing more light to enter, and enabling the use of quicker shutter speeds.
Remember, when photographing in low light without a flash, the primary challenge is ensuring adequate light reaches the camera sensor while using a slower shutter speed. A wider aperture not only allows for more light but also facilitates faster shutter speeds, reducing the potential for motion blur.
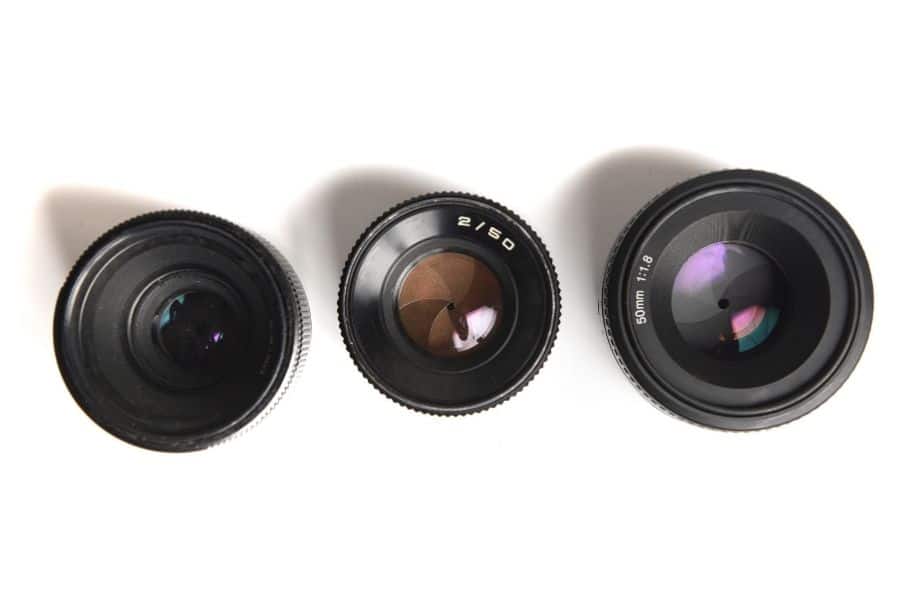
Prime lenses, often recognized for their wide apertures, are excellent choices for low-light photography. Unlike zoom lenses, prime lenses have fixed focal lengths and typically yield higher-quality images. With a wide aperture like f/1.4, you have greater flexibility to adjust both ISO and shutter speed.
Related: How to Choose a Camera Lens That Fits Your Needs.
6. Shoot in Manual Mode
For beginner photographers, the built-in automatic modes can seem appealing because the camera adjusts settings based on the current situation. These modes often include presets for portraits, landscapes, nighttime scenes, and other specific scenarios.
However, I recommend moving away from these automatic settings. Relying on your skills and manually adjusting settings will prove more beneficial in the long run.
Typically, photographers alternate between two modes: Aperture Priority and Manual mode. In Aperture Priority, you can adjust the aperture, ISO, and white balance, but the camera automatically sets the shutter speed based on the available light. In Manual mode, you have control over all three main pillars of exposure.
While Aperture Priority is often sufficient, in challenging lighting conditions, it’s best to use Manual mode and adjust all settings yourself.
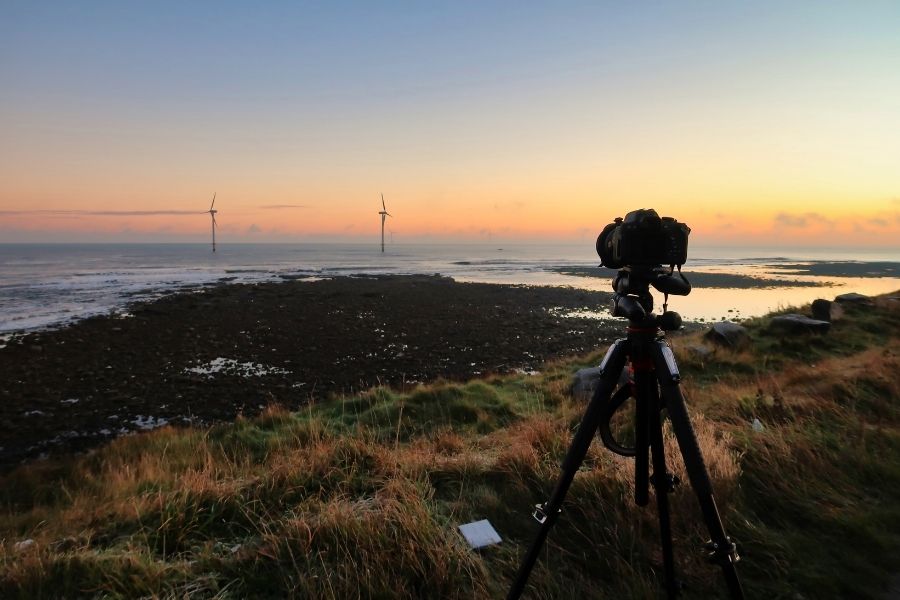
7. Minimize Camera Shake
Another challenge in low-light photography without using a flash is ensuring the camera remains steady, especially during longer shutter speeds. These shutter durations can range from milliseconds to half a minute. Can you hold a camera steady for thirty seconds without any movement? Most likely not (I can’t either). So, how can you capture images in the dark without a flash-induced camera shake?
The simplest solution is to use a tripod. If you haven’t yet invested in one, find a stable surface like a rock, wall, or ground to support your camera. However, a tripod offers greater flexibility and, let’s face it, it’s more convenient.
Also, be mindful of the shake that can occur when releasing the shutter. Even a minor jolt to the camera can impact the resulting image. How can you mitigate this?
There are two solutions: using a remote shutter or setting a timer. Some cameras can connect to mobile devices via Bluetooth, or you might have a dedicated remote control. Alternatively, you can set a timer, giving you, for instance, a three-second delay before the photo is taken.
If you prefer handheld shooting under slightly better low-light conditions and faster shutter speeds, there are techniques to help stabilize your shots. Stay relaxed, keep your shoulders in a natural position, and maintain a steady breathing rhythm when pressing the shutter.
8. Focusing during the Low Light
Modern cameras typically come with built-in autofocus systems, simplifying the process for both beginners and professionals. Most of the time, you’ll rely on autofocus.
However, in low-light conditions, autofocus may struggle to detect focus points due to the limited light, leading to potentially unsatisfactory results with misplaced focus.
This challenge becomes particularly evident in low-light portrait photography, where you might use a wide aperture and have a shallow depth of field. It’s crucial to set your focus point accurately.
So, how can you address focusing challenges in low-light photography? Familiarize yourself with manually setting focus points on your camera. It might take some practice to become adept at manual focusing and consistently capture sharp images.
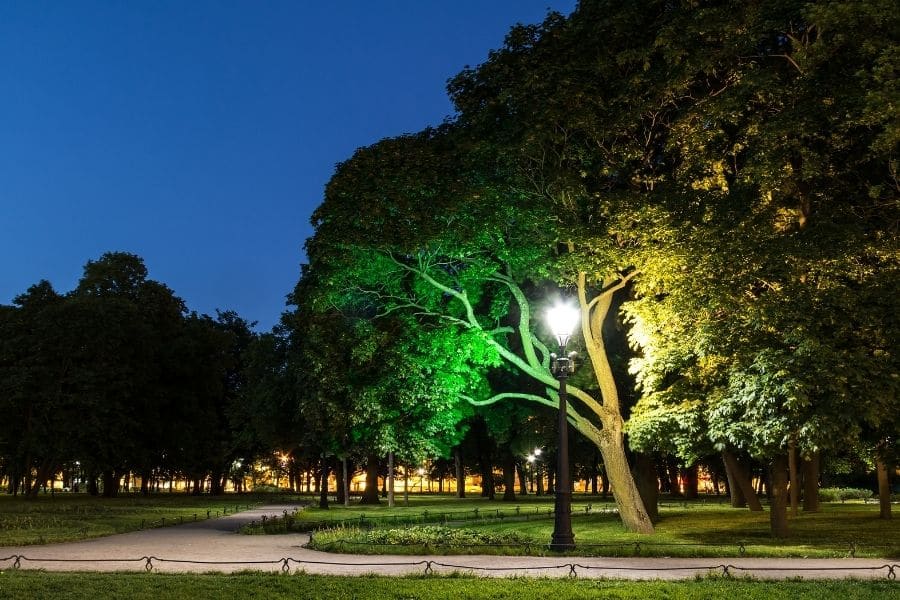
9. Utilize or Seek Additional Light Sources
If there’s a hint of ambient light nearby, it’s advantageous to position your subject close to that source. This allows more light to reach the camera sensor. But if you need supplemental lighting, especially for subjects with slight movement, how can you shoot effectively in low light without a flash?
Consider incorporating external light sources, such as lamps, the glow from a bonfire or candle, or any other innovative light source you can think of. However, don’t assume that merely adding light will instantly produce satisfactory results. Mastering the use of external lighting for enhanced low-light photography requires practice and experimentation.
10. Addressing Low-Light Photography Shortcomings with Post-Processing Software
Often, images captured in low light may appear underexposed or overly dark. While they might not look appealing or professional straight out of the camera, there’s a range of editing software available to rectify these low-light challenges. This is where the magic starts to happen.
It’s essential to remember to shoot in RAW format. While these files are larger, they offer greater flexibility when adjusting your low-light photos. Tools like Adobe’s make it straightforward to enhance exposure, brighten shadows, and more.
Such editing tools can significantly elevate the quality of your photos, making them appear even more vibrant and detailed than what the naked eye perceives.
However, it’s crucial to understand that no editing software can transform a poorly taken photo into a masterpiece. It’s still vital to set the correct ISO to minimize noise, ensure subjects aren’t blurry, and maintain a compelling composition.
With consistent practice, both your photography and editing skills will undoubtedly improve.
Conclusion
These low-light photography tips aim to bolster your confidence when shooting in challenging conditions. You’re now equipped with knowledge on capturing low-light images with minimal noise, understanding the factors influencing photo sharpness, and the ease with which you can adjust brightness directly in the camera.
Once you’ve grasped the fundamentals of shooting in low light without a flash, the next step is consistent practice.
Further reading:
Which is the best lens for portraits?
Summer photography ideas.
Portrait composition tips.
Landscape composition tips.
Framing in photography tips.
PIN IT